Joplin is an open-source (free) note-taking app that supports Markdown and runs across Mac/iOS and other platforms. Joplin generally offers three ways to sync:
| Method | Pros | Cons |
|---|---|---|
| Joplin’s official cloud | Hassle-free, stable | Data isn’t private, costs money |
| Public S3/cloud-drive sync | Hassle-free, stable | Data isn’t private, may cost money |
| Self-hosted Joplin sync | Data stays private, lower cost | More complex to set up |
Here we go with the third, seemingly more complex option. With Docker, the barrier to installing the service is already much lower; with Cloudflare, mapping network ports becomes a lot more convenient too.
0. Preparation
- A Visa/Mastercard credit card, for purchasing the following three services:
- A Linux server — this can be one running at home, or a cloud instance purchased from a cloud provider
- Your own domain name, purchasable from a common domain registrar (assume
example.comhas already been bought) - Cloudflare’s DNS resolution and reverse-tunnel service
- Basic Linux operation
- Basic use of the terminal
- Copy & paste skills
1. Installing the Joplin Client
Joplin supports iOS/macOS and other platforms:
- Desktop: https://joplinapp.org/download/
- iOS: search for Joplin in the App Store
2. Running Joplin Server on a Server
2.1 Choosing a server
You’ll need a Linux server here, which can be:
- A local computer with Linux installed
- Windows works too, using WSL: https://learn.microsoft.com/en-us/windows/wsl/install
- A cloud server from a cloud provider (such as Amazon/Google/Azure)
Vultr is recommended here:
- Affordable pricing, as low as $2.5/month
- Billed by the hour
- Supports Alipay/WeChat Pay
2.2 Running Joplin Server with docker-compose
Setting up Joplin Server is fairly involved, so docker-compose is used here to simplify the setup process. See the Docker installation guide to install docker-compose. The docker-compose.yaml config file for running the Joplin Server service with docker-compose is as follows:
version: "3"

services:
  database:
    image: postgres:13.1
    container_name: postgres_joplin
    volumes:
      - ./postgres:/var/lib/postgresql/data
    ports:
      - "$POSTGRES_PORT:$POSTGRES_PORT"
    restart: unless-stopped
    environment:
      - POSTGRES_PASSWORD=$POSTGRES_PASSWORD
      - POSTGRES_USER=$POSTGRES_USER
      - POSTGRES_DB=$POSTGRES_DATABASE
  joplin:
    image: joplin/server:latest
    container_name: joplin
    depends_on:
      - database
    ports:
      - "$APP_PORT:$APP_PORT"
    restart: unless-stopped
    environment:
      - APP_BASE_URL=$APP_BASE_URL
      - APP_PORT=$APP_PORT
      - DB_CLIENT=$DB_CLIENT
      - POSTGRES_PASSWORD=$POSTGRES_PASSWORD
      - POSTGRES_DATABASE=$POSTGRES_DATABASE
      - POSTGRES_USER=$POSTGRES_USER
      - POSTGRES_PORT=$POSTGRES_PORT
      - POSTGRES_HOST=$POSTGRES_HOST
The docker-compose.yaml file references some external environment variables, such as $POSTGRES_PORT — their values come from a .env file in the same directory as docker-compose.yaml.
POSTGRES_PASSWORD=joplin
POSTGRES_USER=joplin
POSTGRES_DATABASE=joplin
POSTGRES_PORT=5432
POSTGRES_HOST=database
APP_PORT=8087
APP_BASE_URL=https://joplin.example.com
DB_CLIENT=pg
A few other notes:
postgresmust be pinned to version 13.1 — usinglatestmay prevent you from logging in.APP_BASE_URLshould be set tohttps://joplin.example.com, the address you’ll ultimately access from outside.
In the folder where you just saved docker-compose.yml, run:
docker-compose up # runs in the foreground, prints logs, stops when you exit the terminal
docker-compose up -d # runs in the background, no logs printed, keeps running after you exit the terminal
docker-compose down # shuts down the Joplin Server and postgres services
3. Configuring Public Access
The Joplin Server service was started with docker-compose above, but the client can’t be configured to sync yet, because the network isn’t set up — the client has no way to find an entry point to connect to Joplin Server. The Joplin Server sync service still needs to be exposed to the public internet.
3.1 Buying a domain
A domain is our entry point to the internet — it helps conveniently locate the “location” of a server. Our Joplin Server also needs a domain as its entry point. Put simply: our phones and computers need to find our self-hosted Joplin Server’s address on the internet, and that’s where a domain acts as the internet’s street address.
A domain can be bought from Namecheap or Cloudflare.
- Buying a domain on Cloudflare
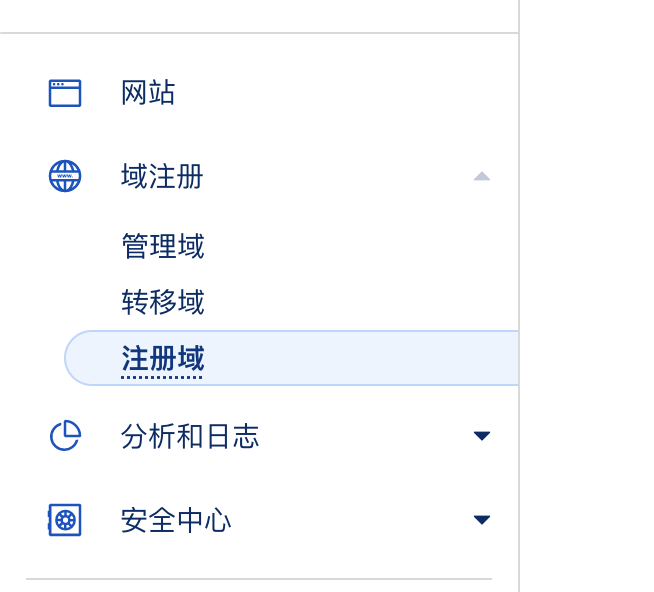
To use Cloudflare, you’ll need a Cloudflare account. Registration will require a Visa or Mastercard credit card.
3.2 Resolving the domain with Cloudflare
After buying the domain, DNS resolution still needs to be set up — really, this just means registering it with the DNS servers.
What is DNS resolution
Resolution means linking a domain to a particular IP address. In reality, every machine on the internet is connected using an IP address, but an IP address doesn’t carry much meaning that’s easy for humans to remember, so DNS resolution exists as a process to link an IP address to a domain name.
For example, if I told you I’m at 22.3193° N, 114.1694° E — well, that’s certainly precise enough to target with a missile, but on its own, that coordinate doesn’t tell you much. If I instead told you it’s Hong Kong, you’d immediately have a lot more context. Here, the coordinate is the IP address, and “Hong Kong” is the domain name. Obviously, the mapping between a domain and an IP can change — for instance, in the late Qing dynasty, Hong Kong was ceded and became British Hong Kong; after 1997 it became the Hong Kong Special Administrative Region.
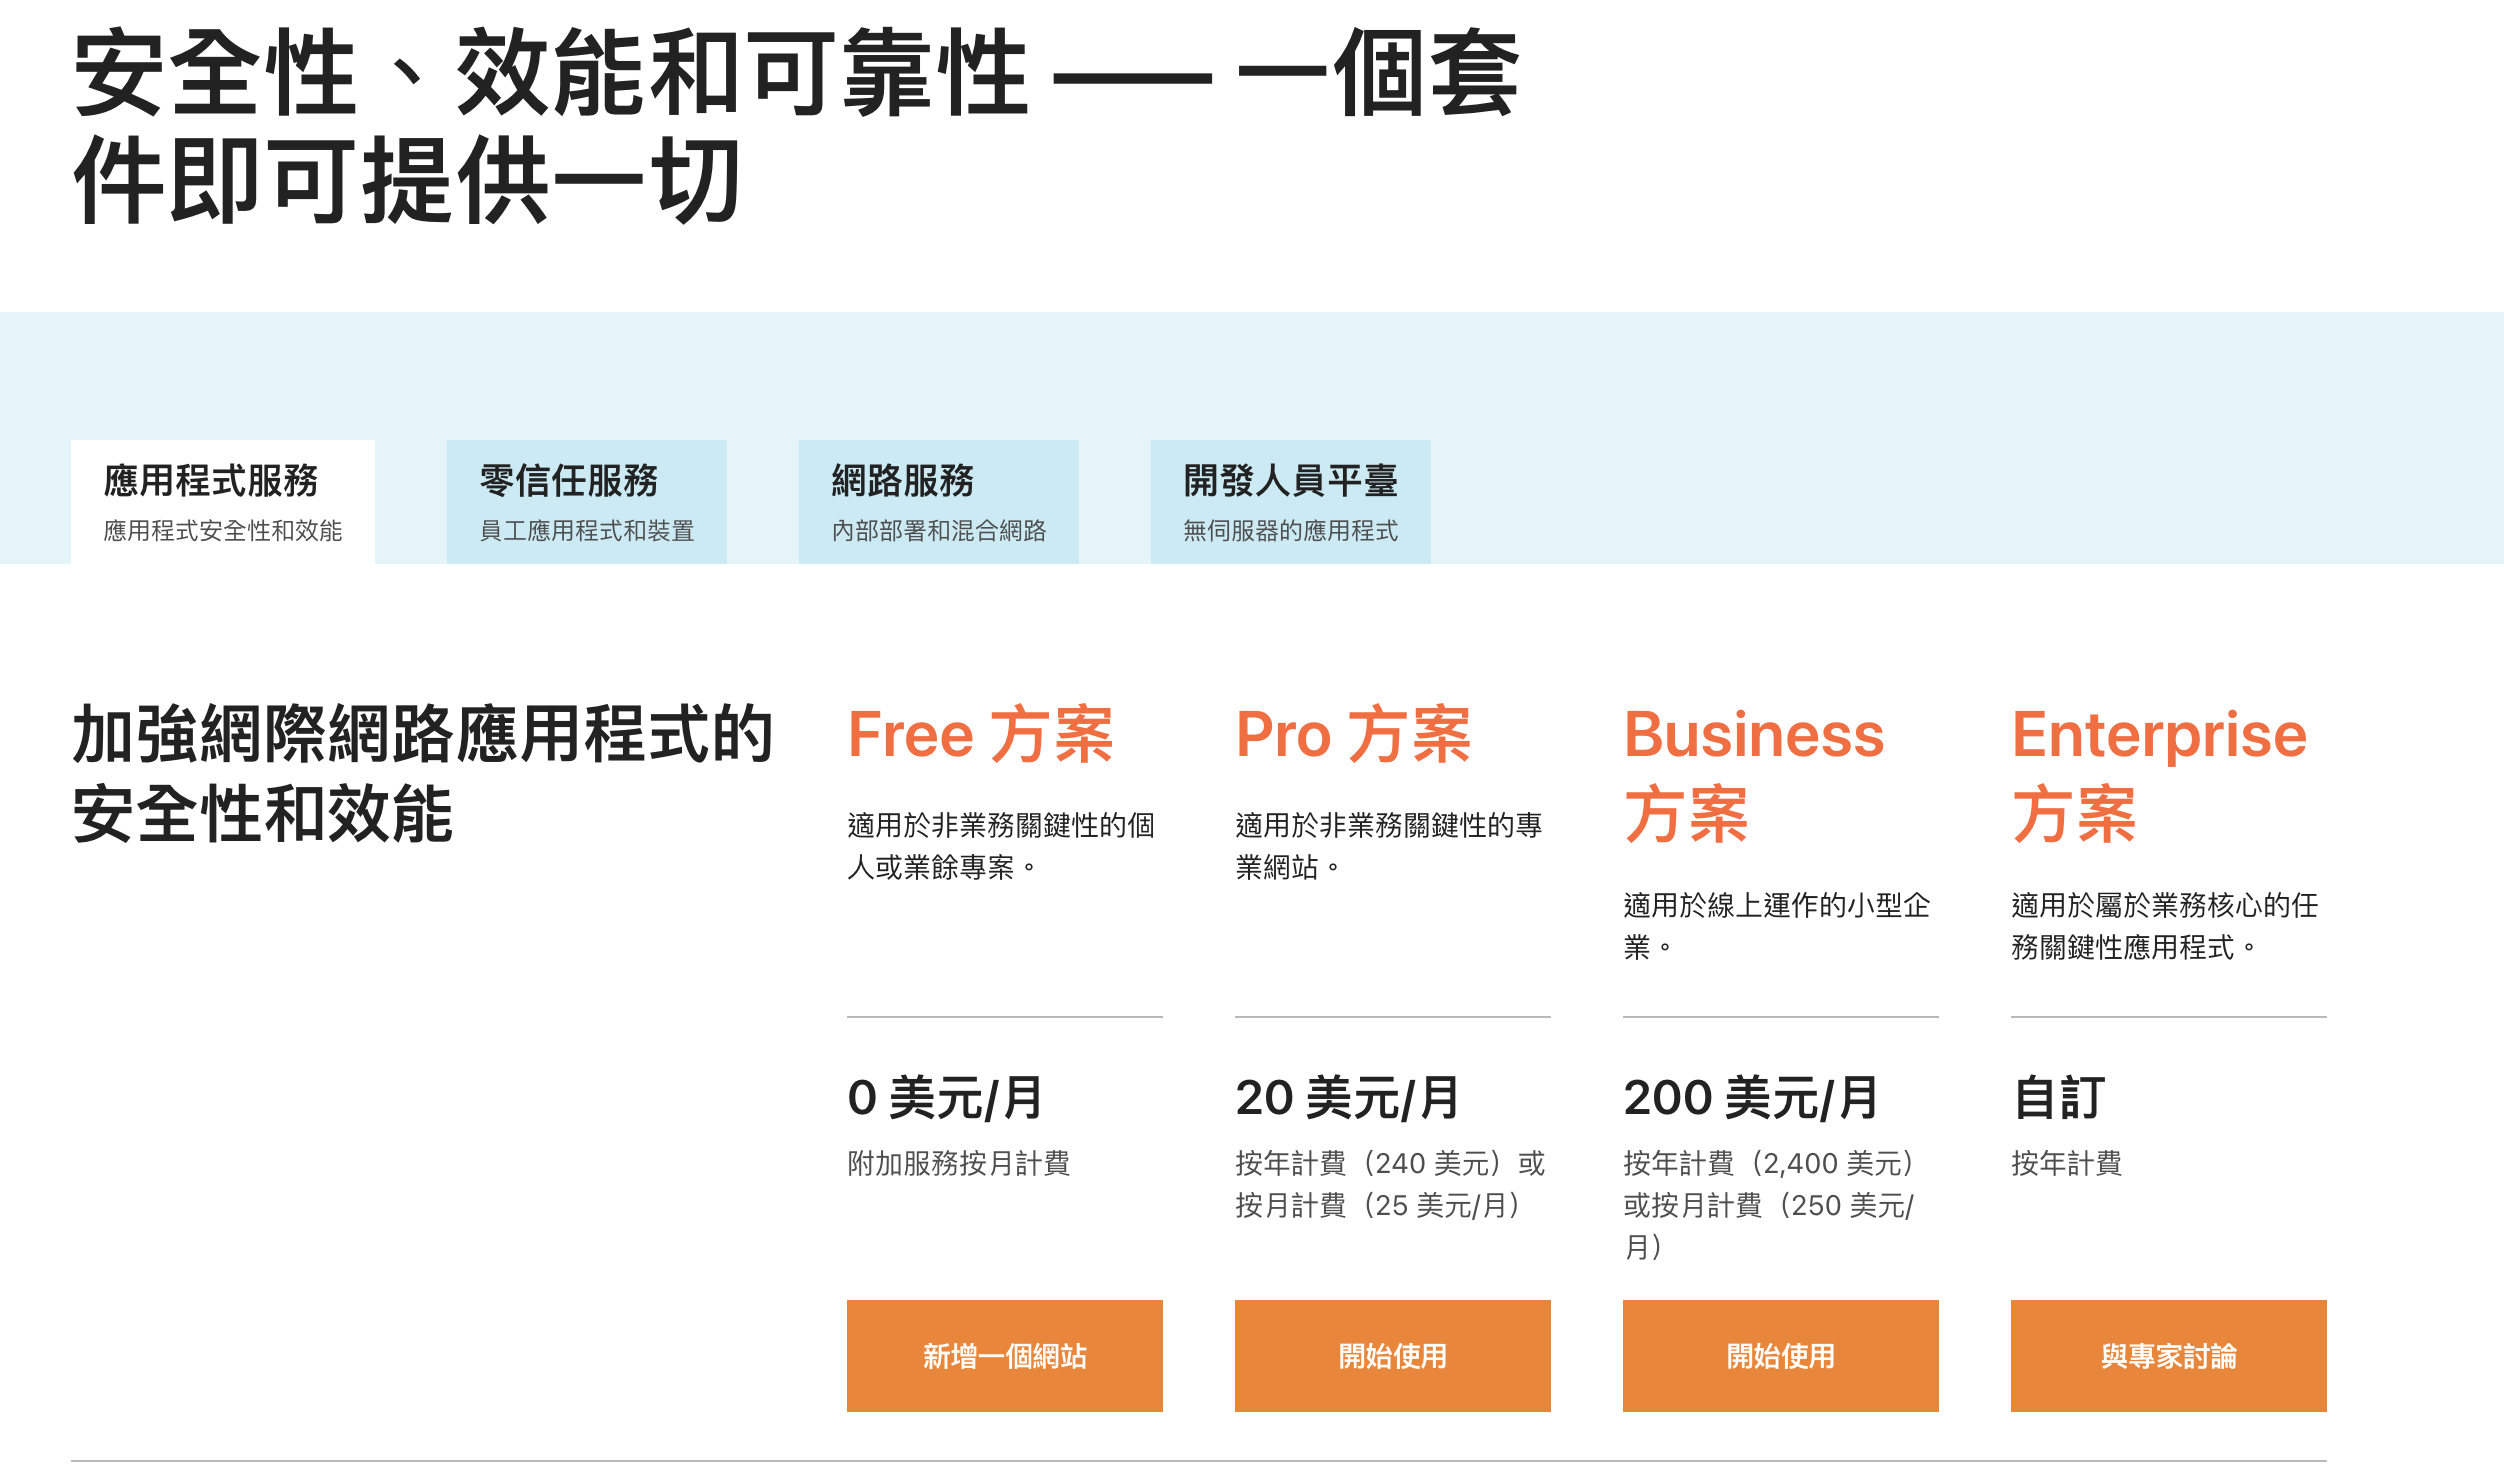
You can see Cloudflare’s plans here — the $0 plan already covers most of what we need.
You’ll need to change the domain’s nameservers to Cloudflare’s at your domain registrar. Once that’s done, resolution will take effect after a short wait.
3.3 Reverse intranet access with Cloudflare Zero Trust
Another benefit of using Cloudflare is getting its reverse-tunnel feature for free — using Cloudflare Zero Trust for reverse intranet access lets the entire internet reach your service. This free reverse-tunnel service is honestly leagues ahead of those paid reverse-tunnel boxes on the market.
1 Find the Zero Trust section in the dashboard, or go directly here
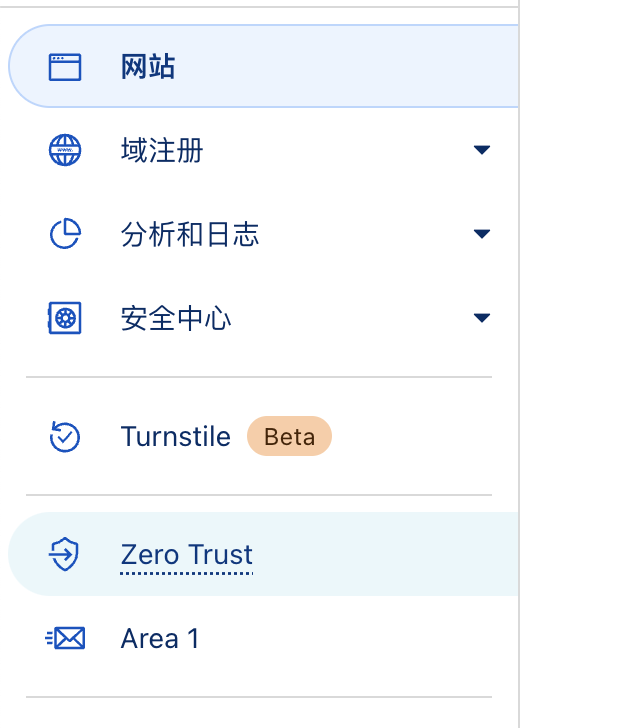
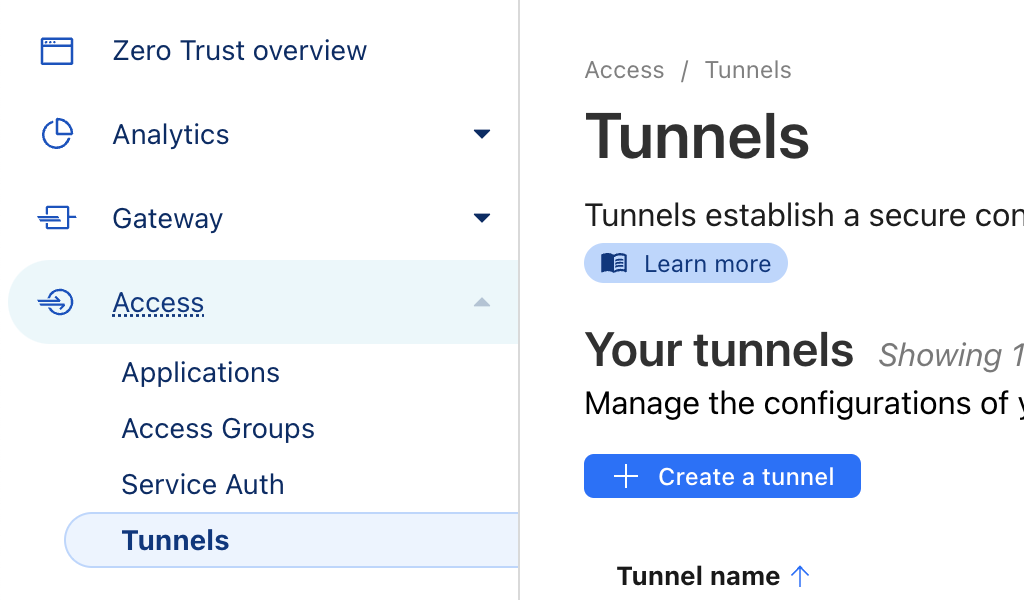
2 Find Access → Tunnels → Create a tunnel
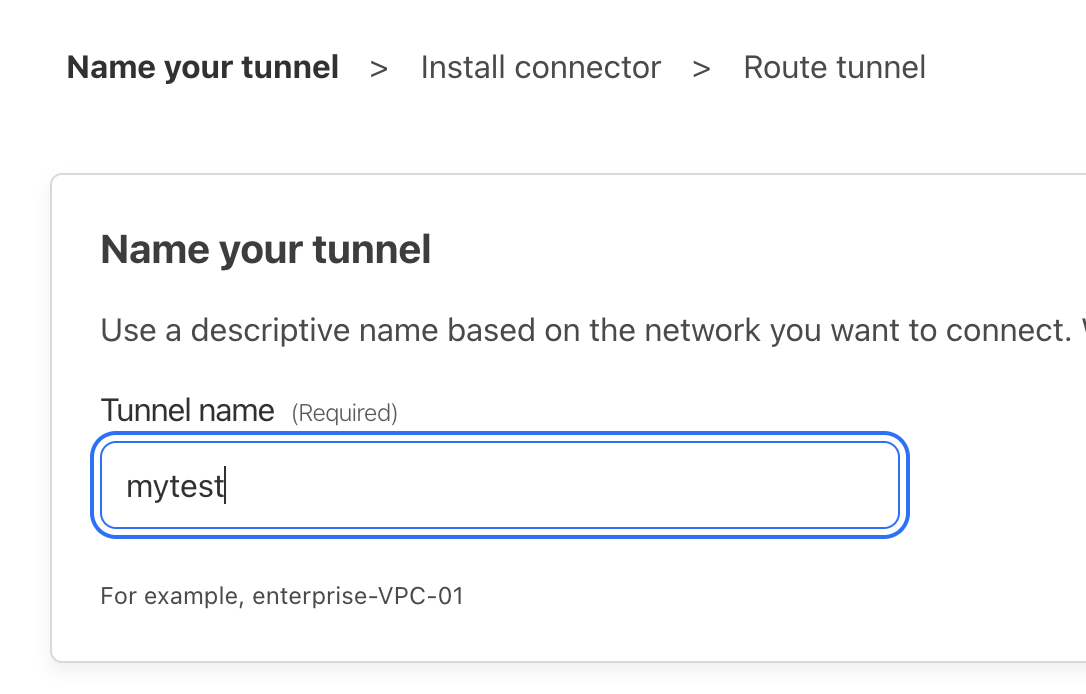
3 Create a new tunnel
4 Install the client on the server
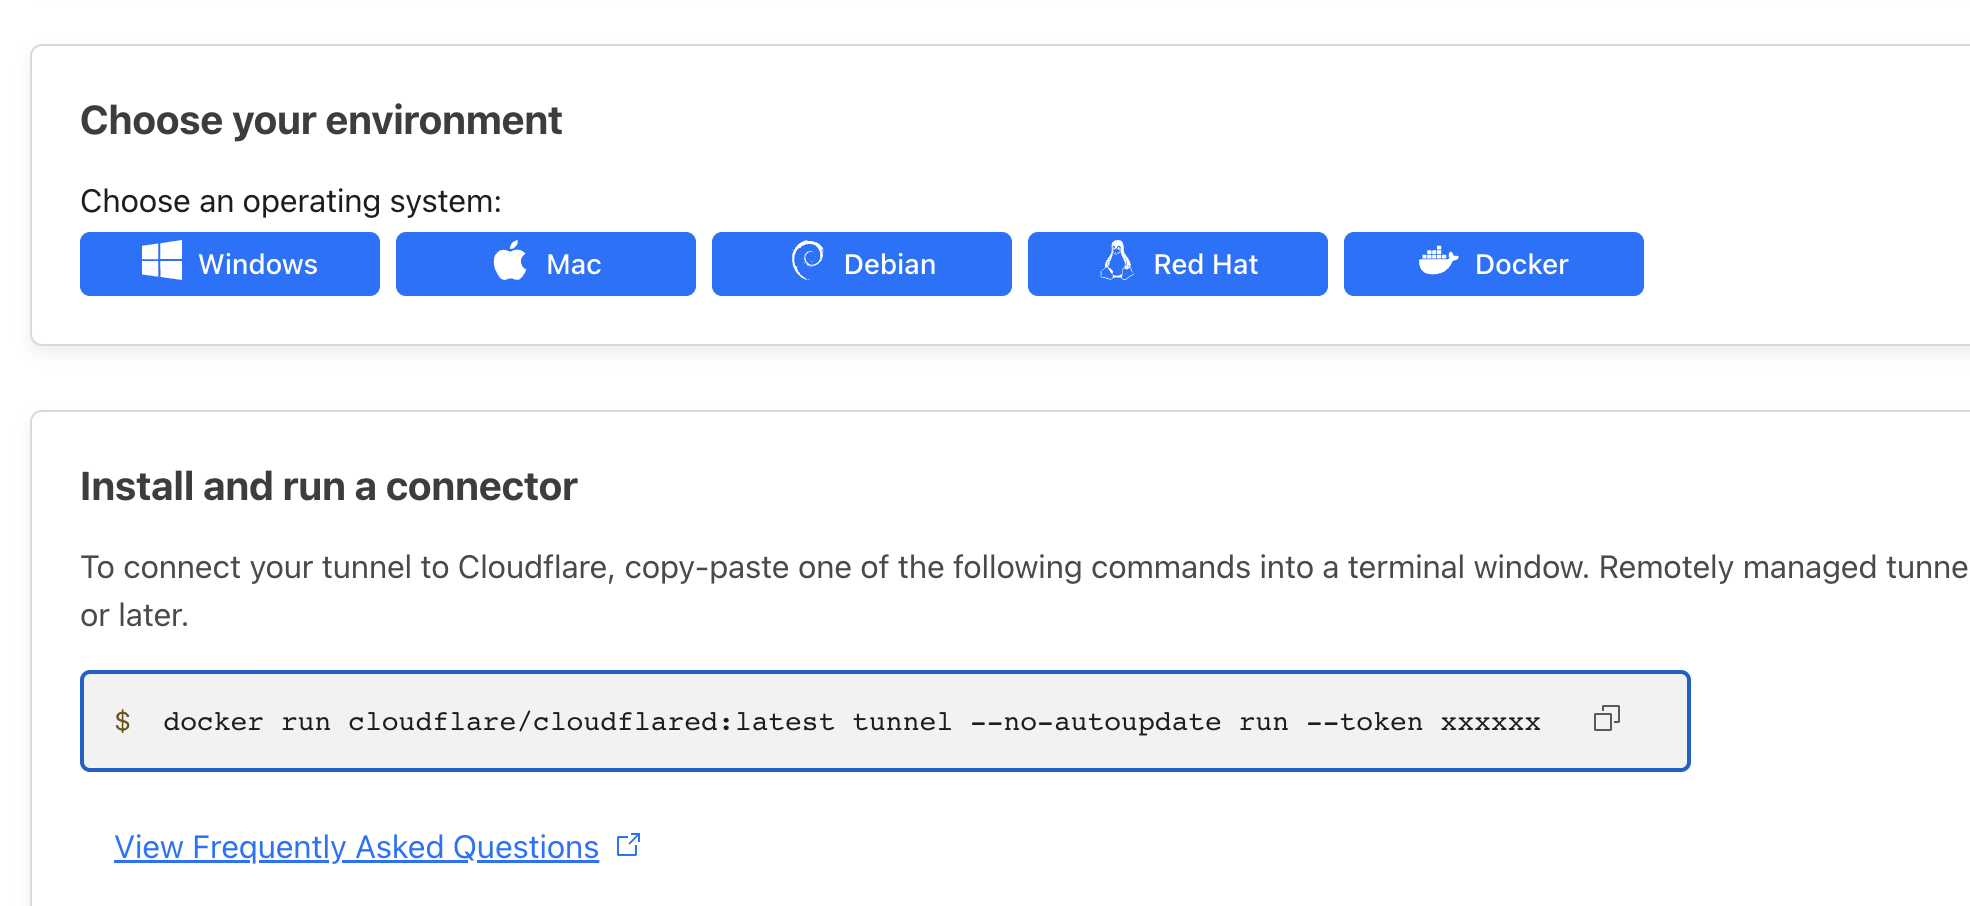
Here, install it with Docker — just copy the command above directly:
Docker install command for the Cloudflare client
docker run \
        --name cloudflare \
        --restart always \
        -d \
        cloudflare/cloudflared:latest \
        tunnel \
        --no-autoupdate run \
        --token xxxxxx # copy from the cloudflare website
5 Create a reverse-tunnel route on the Cloudflare web dashboard:
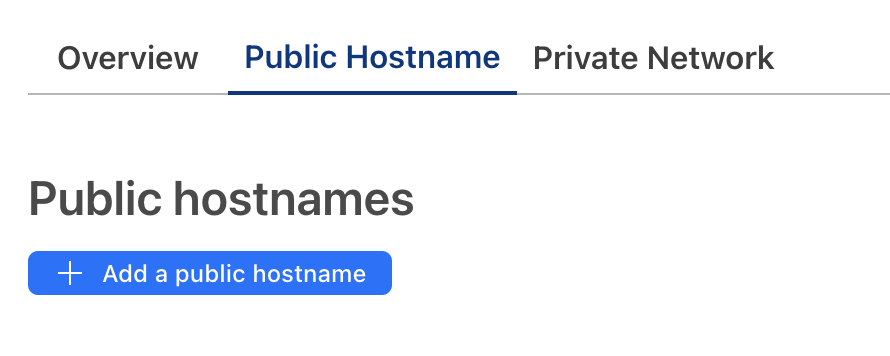
6 Fill in the details
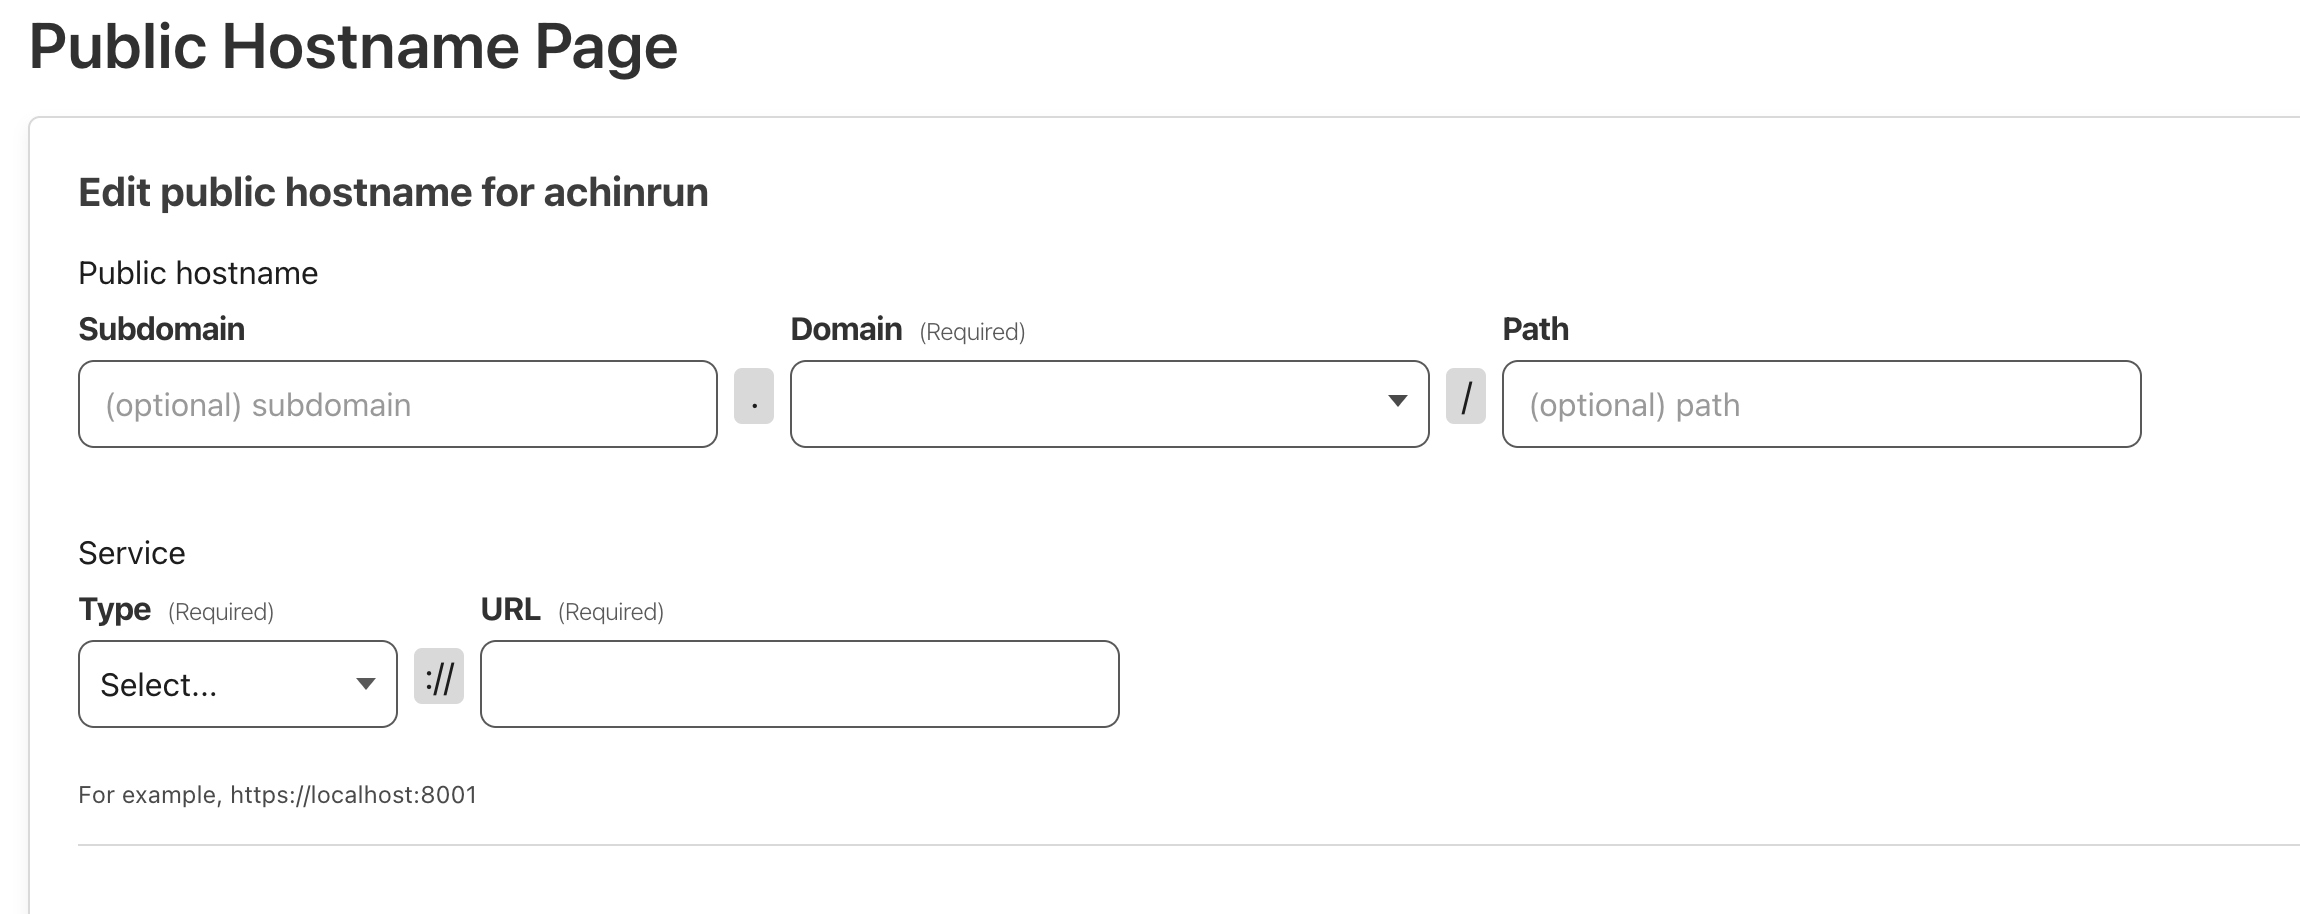
- subdomain: joplin
- domain: example.com # select via the dropdown
- service: http # choose http (not another protocol)
- url: 10.10.10.11:8087 # the IP is the client host’s IP, and 8087 is the port — matching the
APP_PORTvalue indocker-compose.yaml
2.4 Changing the server-side account password
The server side and reverse-tunnel configuration are now both complete — visit https://joplin.example.com in a browser.
Here, joplin is the subdomain from earlier, and example.com is the domain.
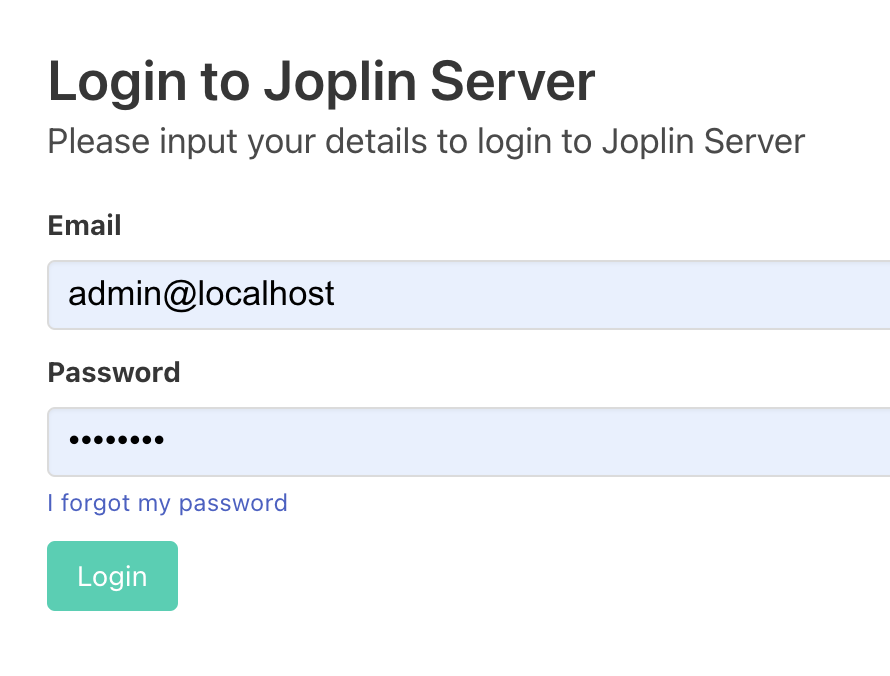
At this point it’s still the default account name and password:
- Account: admin@localhost
- Password: admin
Change the account name and password after logging in! Change the account name and password after logging in! Change the account name and password after logging in!
4. Connecting Clients
4.1 Syncing the Mac client
Download and install the client from here.
You’ll see several sync methods available — choose Joplin Server here:
4.2 Syncing the iOS client
Open the Joplin app, find
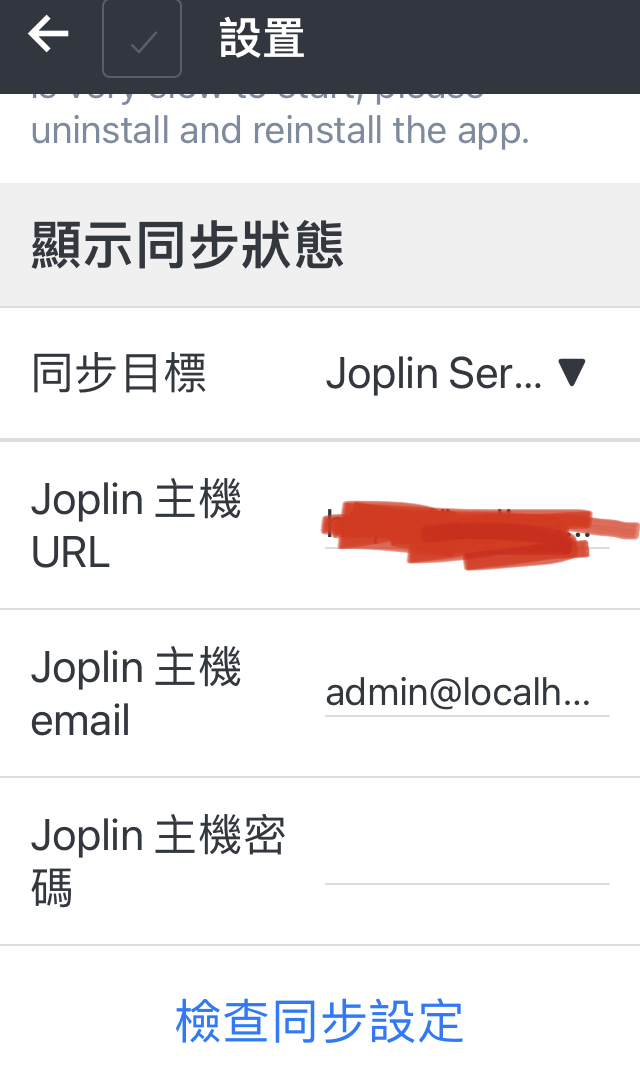 , and enter:
- Sync target: Joplin Server
- Joplin Server URL: the
APP_BASE_URLvalue from.env - Joplin Server email: generally admin@localhost
- Joplin Server password: the default password is
admin, and should be changed after logging in
Once configured, you can tap check sync configuration to see the result.

This shows the sync configuration succeeded — from now on, opening Joplin will sync automatically.
5. Summary
This article covered self-hosting Joplin Server with docker-compose, syncing Joplin notes between Mac and iOS. To make it reachable from the public internet, Cloudflare’s Zero Trust service was used for reverse intranet access, enabling data sync from outside.