GitLab is a very convenient code-management tool. Installing and configuring it directly is quite a hassle and can easily break your environment. Docker lets you deploy GitLab quickly in an isolated environment instead. Once it’s running under Docker, GitLab still needs some configuration, and even in a Docker environment there’s still a need for data backup and restore.
1. Installing GitLab with Docker
Docker needs to be installed first — see this site for how to install Docker.
1.1 Pulling the Docker image (not required)
This generally isn’t necessary — if Docker finds the relevant image missing when it runs, it pulls it automatically. But you can also fetch gitlab-ce (Community Edition) manually:
docker pull gitlab/gitlab-ce

docker images | grep gitlab
1.2 Starting GitLab with Docker
BASEDIR=/data/.docker
docker run \
-d \
-p 444:443 \
-p 8083:80 \
-p 222:22 \
--name gitlab \
--restart always \
-v $BASEDIR/config:/etc/gitlab \
-v $BASEDIR/logs:/var/log/gitlab \
-v $BASEDIR/data:/var/opt/gitlab \
gitlab/gitlab-ce- Port mappings
444maps to443— GitLab over HTTPS8083maps to80— GitLab over HTTP222maps to22— for SSH
- Volume mappings
/etc/gitlabholds the configuration/etc/log/gitlabholds log files/var/opt/gitlabholds advanced configuration
You’ll need to wait a while (GitLab really is slow to start). On the host machine, visit localhost:8083 to reach GitLab’s setup page.
Usually, though, the host has no graphical interface, and you access it from another machine via http://host_ip:8083 instead. In that case, open port 8083 on the host’s firewall.
2. Configuring GitLab
2.1 Setting the account password
You’ll first be asked to set the root account’s password. The root account’s id is 1. Be sure to set the root password — later, when you create your own account, it needs this account’s approval.
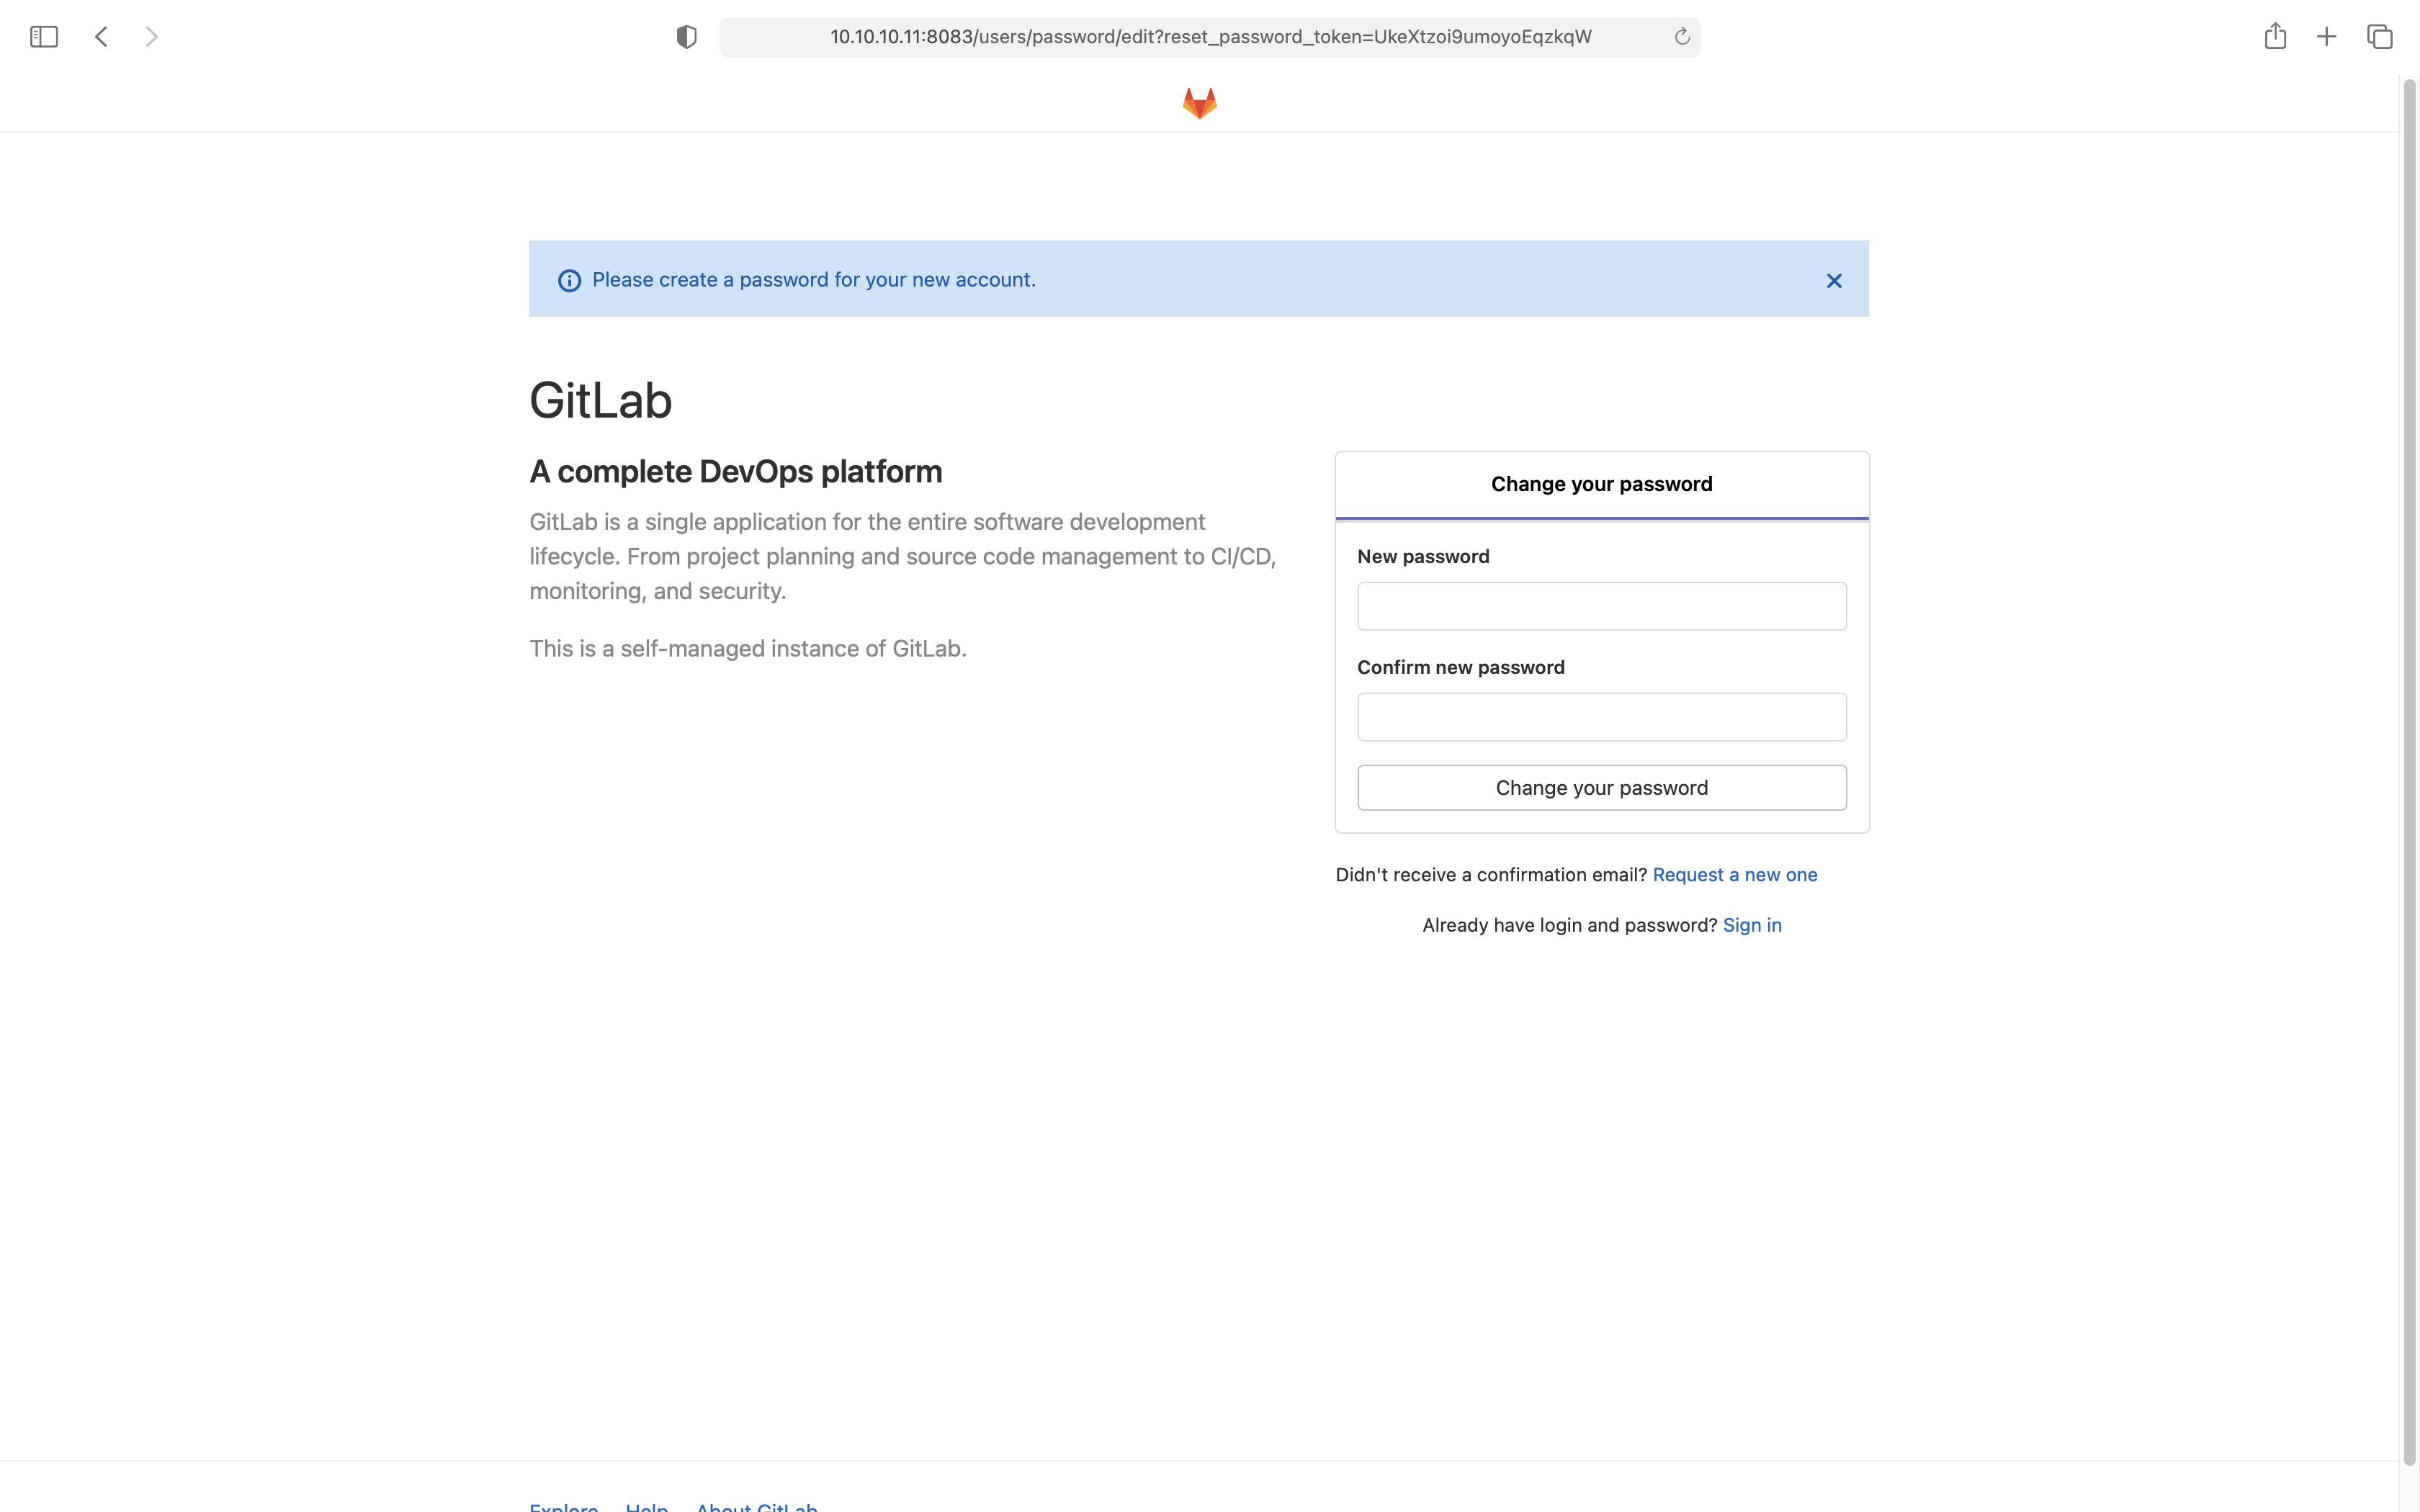
After finishing this, log out of the root account and “register” a new account — all subsequent work happens under this newly registered account. Once registered, log back in as root and approve the account you just registered.
2.2 Configuring the git clone URL
When running git clone, you can choose the HTTP or SSH protocol. These protocols default to the container’s name as the address, which doesn’t work outside the container environment, so it needs to be changed to the host’s address. In addition, GitLab’s SSH port on the host is mapped to 222, which also needs configuring. There are two ways to change this:
Editing $BASE_DIR/config/gitlab.rb on the host
# configure the address used for the http protocol; without a port it defaults to 80
external_url 'http://10.10.10.11:8083'
# changing this affects the port nginx runs on — the docker run command needs to match afterward

gitlab_rails['gitlab_ssh_host'] = '10.10.10.11'
gitlab_rails['gitlab_shell_ssh_port'] = 222 # this is the 222 port that 22 is mapped to at run time
Be sure to forward port 22 to whatever you set gitlab_shell_ssh_port to. Remove the old container and start it again:
docker stop gitlab
docker rm gitlab
BASEDIR=/data/.docker
docker run \
-d \
-p 444:443 \
-p 8083:8083 \
-p 222:22 \
--name gitlab \
--restart always \
-v $BASEDIR/config:/etc/gitlab \
-v $BASEDIR/logs:/var/log/gitlab \
-v $BASEDIR/data:/var/opt/gitlab \
gitlab/gitlab-ce
Using environment variables
Add environment variables to the docker run command:
docker stop gitlab
docker rm gitlab
BASEDIR=/data/.docker
IP=host_ip
GITLAB_PORT=8083
docker run \
-d \
-p 444:443 \
-p $GITLAB_PORT:8083 \
-p 222:22 \
--name gitlab \
--restart always \
-v $BASEDIR/config:/etc/gitlab \
-v $BASEDIR/logs:/var/log/gitlab \
-v $BASEDIR/data:/var/opt/gitlab \
--env GITLAB_OMNIBUS_CONFIG="external_url 'http://${IP}:${GITLAB_PORT}'; \
    gitlab_rails['lfs_enabled'] = true; \
    gitlab_rails['gitlab_ssh_host'] = '${IP}'; \
    gitlab_rails['gitlab_shell_ssh_port'] = ${GITLAB_SSH_PORT};"
gitlab/gitlab-ce
Go back to the web page and you’ll see that both the SSH and HTTP addresses have changed.
3. GitLab Backup and Restore
3.1 Backing up GitLab to a file
Backing up data matters. To enable backups, add environment variables at startup:
gitlab_rails['manage_backup_path'] = true; \
gitlab_rails['backup_path'] = '${CONTAINER_PATH_FOR_GITLAB_BACKUP}'; \
gitlab_rails['backup_archive_permissions'] = 0644; \
gitlab_rails['backup_keep_time'] = 604800;" \
To take a backup, run:
docker exec -it gitlab gitlab-rake gitlab:backup:createThe backup file is then generated under ${CONTAINER_PATH_FOR_GITLAB_BACKUP}.
3.2 Restoring GitLab from a file
Again, using docker:
docker exec -it gitlab gitlab-rake gitlab:backup:restore BACKUP=path_to_backup_fileNote that path_to_backup_file here must be an absolute path. You may see some warnings during the restore — they can be ignored.
4. Summary
This article covered running gitlab-ce with Docker, including the initial run and configuring the paths needed for external access, followed by backing up GitLab’s data and restoring it from a backup.