This article covers installing NVIDIA-related tools: driver/CUDA/cuDNN/TensorRT. There are generally two ways to install them:
- Where the network is reasonably fast, a package manager can be used, avoiding a lot of manual environment-variable setup.
- Where the network isn’t reliable, you need to download the installer packages ahead of time and install them manually, which requires some environment-variable setup work. For an offline install, you’ll first need a machine with a reliable connection (such as a VPS) to download the relevant packages ahead of time.
This article covers both approaches — pick whichever one applies. The hardware used here is a GTX 1030, running RedHat 9.2.
1. Installing the NVIDIA Driver
The driver is the most basic requirement. Without it, the operating system has no way to correctly operate the GPU.
1.1 Installing the driver with yum/dnf
Following the NVIDIA driver installation guide, here’s a record of the install script.
sudo dnf install kernel-devel-$(uname -r) kernel-headers-$(uname -r) -y
sudo dnf install https://dl.fedoraproject.org/pub/epel/epel-release-latest-9.noarch.rpm -y

# For RedHat 9 only
subscription-manager repos --enable=rhel-9-for-x86_64-appstream-rpms
subscription-manager repos --enable=rhel-9-for-x86_64-baseos-rpms
subscription-manager repos --enable=codeready-builder-for-rhel-9-x86_64-rpms

sudo rpm --erase gpg-pubkey-7fa2af80*
sudo dnf clean expire-cache

sudo dnf module install nvidia-driver:latest-dkms
Once installed, run nvidia-smi:
1.2 Offline driver installation
If the network isn’t very reliable, download the NVIDIA graphics-card driver ahead of time from the download site and pick the appropriate driver file.
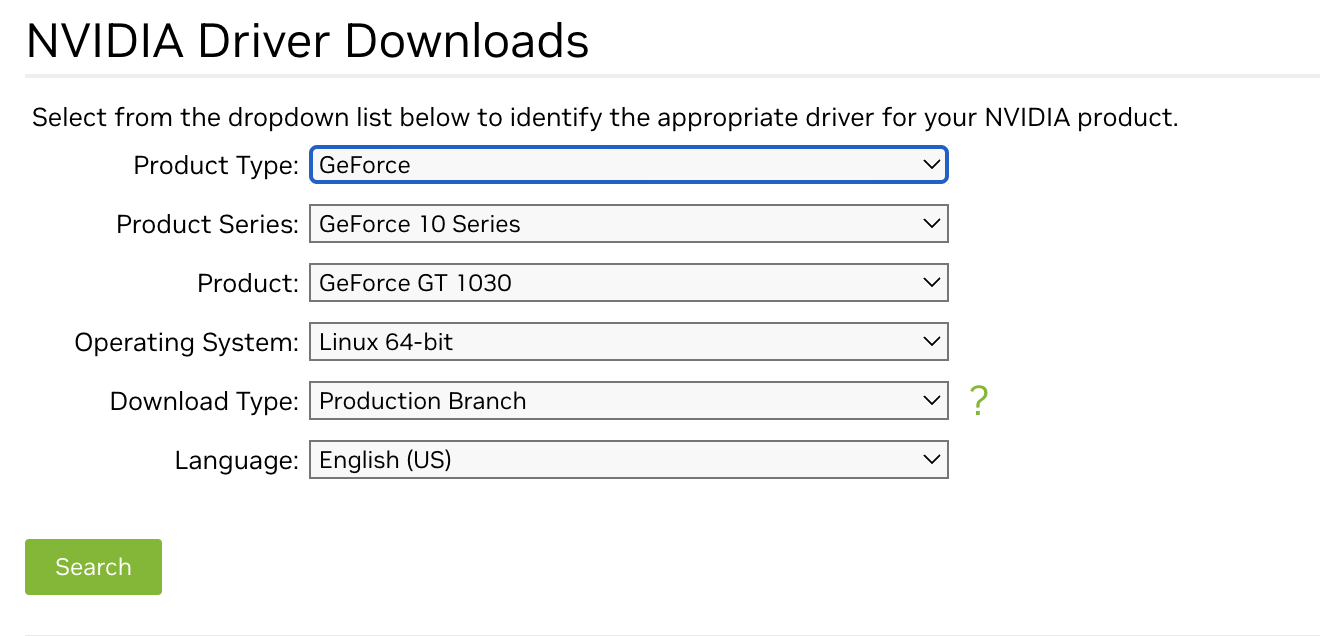
Once downloaded, you’ll have a file like NVIDIA-Linux-x86_64-535.54.03.run.
chmod +x NVIDIA-Linux-x86_64-535.54.03.run
sudo ./NVIDIA-Linux-x86_64-535.54.03.run
2. Installing CUDA
2.1 Installing CUDA with dnf/yum
The installation guide is here. First, set up the repository:
# sudo dnf config-manager --add-repo https://developer.download.nvidia.com/compute/cuda/repos/$distro/$arch/cuda-$distro.repo # `$distor/$arch = rhel9/x86_64`
sudo dnf config-manager --add-repo https://developer.download.nvidia.com/compute/cuda/repos/rhel9/x86_64/cuda-rhel9.repo
Then install it:
sudo dnf install cuda -yAfter installing, set the environment variables:
echo 'export PATH=/usr/local/cuda-12.2/bin${PATH:+:${PATH}}' >> ~/.zshrc
echo 'export LD_LIBRARY_PATH=/usr/local/cuda-12.2/lib64${LD_LIBRARY_PATH:+:${LD_LIBRARY_PATH}}' >> ~/.zshrc
This machine uses zsh, so it’s written into ~/.zshrc; if you use bash, write it into ~/.bashrc instead. After writing it, reload the environment variables with source ~/.zshrc, then check nvcc’s status:
nvcc --version
nvcc: NVIDIA (R) Cuda compiler driver
Copyright (c) 2005-2023 NVIDIA Corporation
Built on Tue_Jun_13_19:16:58_PDT_2023
Cuda compilation tools, release 12.2, V12.2.91
Build cuda_12.2.r12.2/compiler.32965470_0
2.1.2 Offline CUDA installation
Download the installer package from here, choosing based on your operating system and so on:
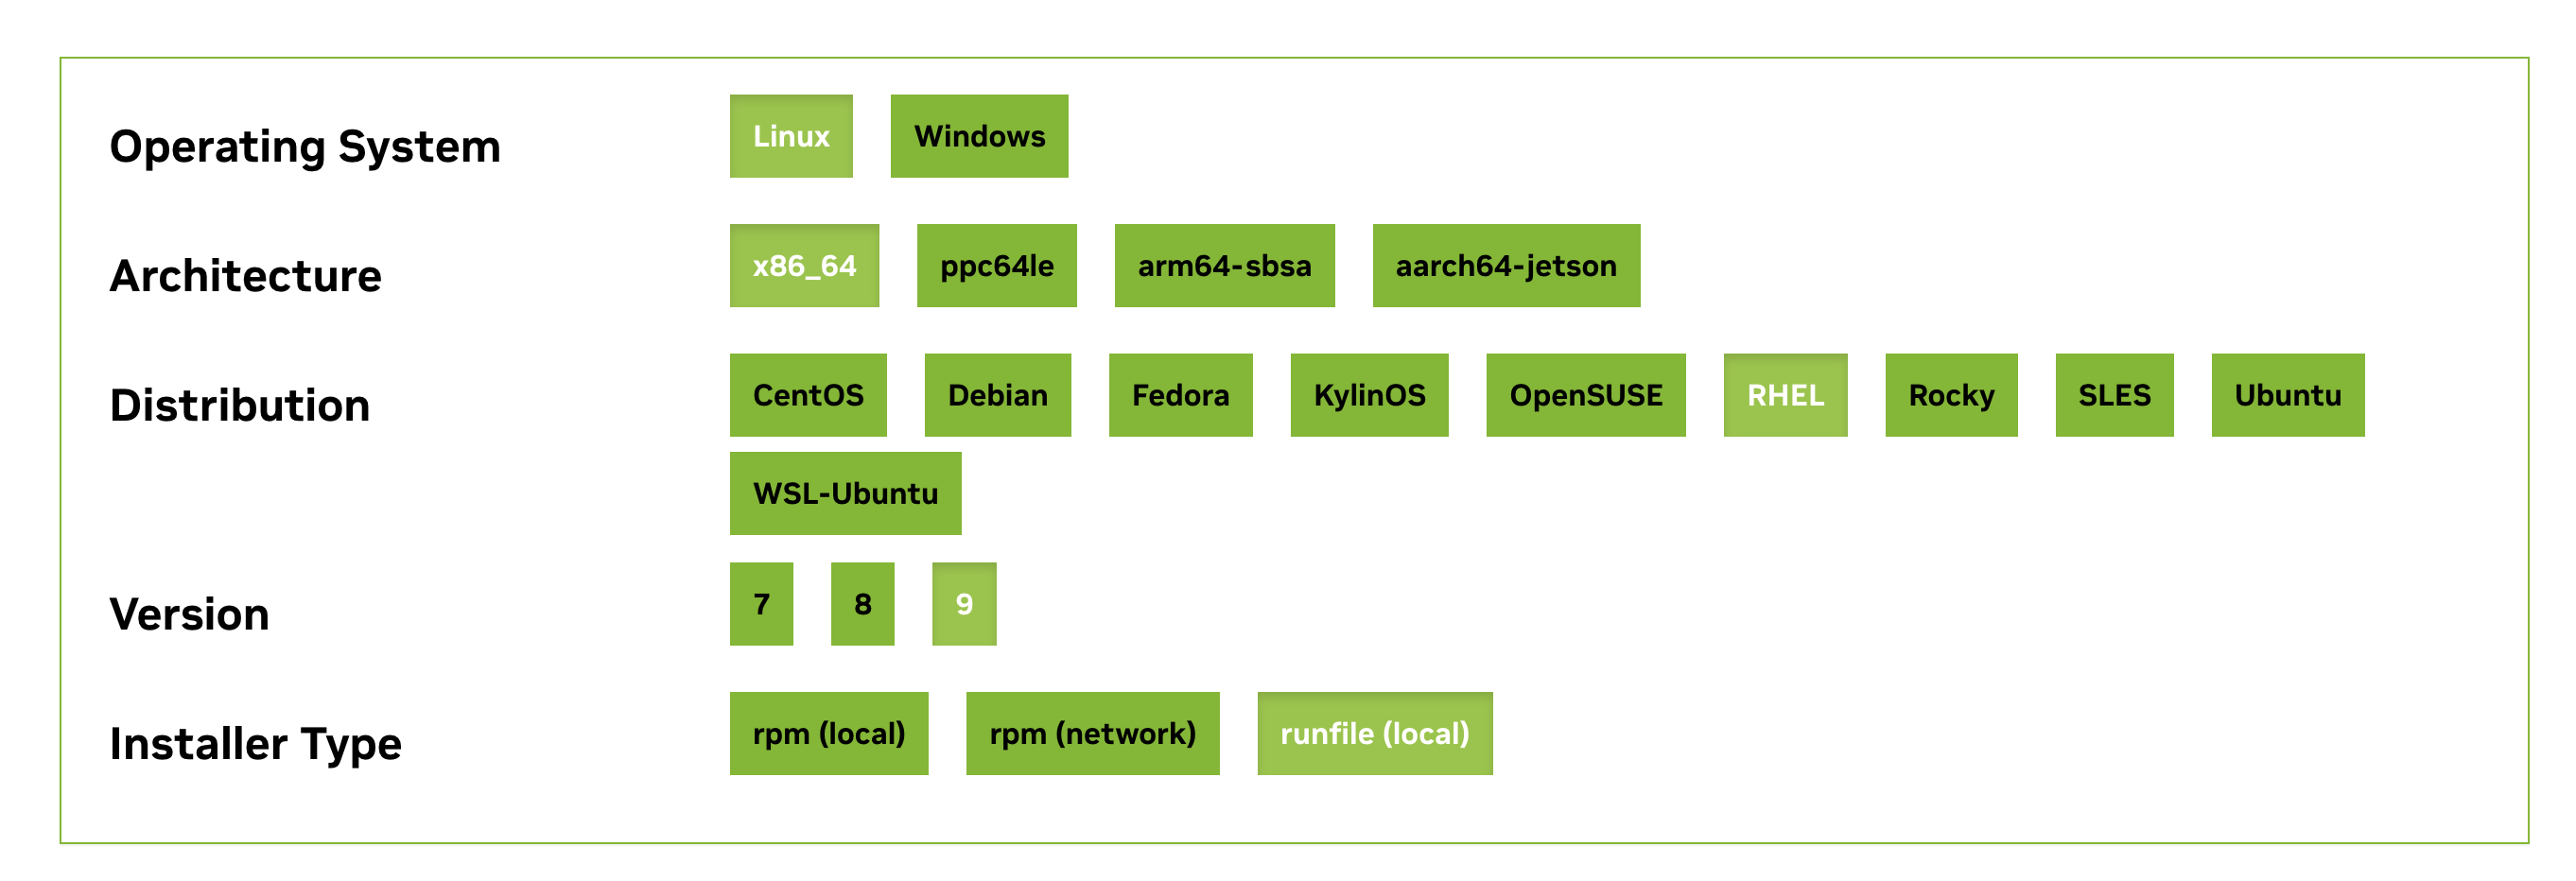
After making your selection, a command to run will be generated below automatically:
wget https://developer.download.nvidia.com/compute/cuda/12.2.0/local_installers/cuda_12.2.0_535.54.03_linux.run
sudo sh cuda_12.2.0_535.54.03_linux.run
During installation, only select the toolkit — don’t select the examples.
1.3 Installing cuDNN
1.3.1 Installing cuDNN with yum/dnf
cuDNN installation guide — here are the key points:
OS=rhel9
sudo yum-config-manager --add-repo https://developer.download.nvidia.com/compute/cuda/repos/${OS}/x86_64/cuda-${OS}.repo

sudo yum clean all

cudnn_version=8.9.2.*
cuda_version=12.2
sudo yum install libcudnn8-${cudnn_version}-1.${cuda_version}
sudo yum install libcudnn8-devel-${cudnn_version}-1.${cuda_version}
Verifying that cuDNN installed successfully
To verify the installation succeeded, install the cudnn-example package to test it:
sudo yum install libcudnn8-samples-${cudnn_version}-1.${cuda_version}Compile mnistCUDNN:
cp -r /usr/src/cudnn_samples_v8/ $HOME
cd  $HOME/cudnn_samples_v8/mnistCUDNN
make clean && make
./mnistCUDNN
If it compiles successfully, you’ll see:
Test passed!1.3.2 Offline cuDNN installation
Download cuDNN from here, choosing the corresponding version. Here we select:
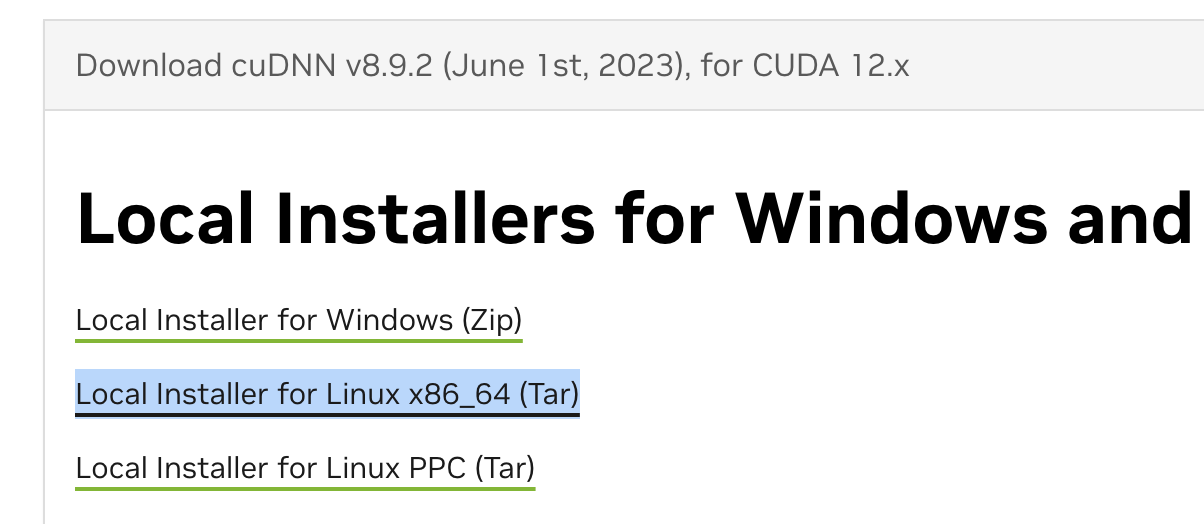
After downloading, extract it:
tar -xvf cudnn-linux-x86_64-8.9.2.26_cuda12-archive.tar.xz

# copy to place
sudo cp cudnn-*-archive/include/cudnn*.h /usr/local/cuda/include
sudo cp -P cudnn-*-archive/lib/libcudnn* /usr/local/cuda/lib64
sudo chmod a+r /usr/local/cuda/include/cudnn*.h /usr/local/cuda/lib64/libcudnn*
1.4 Installing TensorRT
TensorRT is a runtime library. cuDNN needs to be installed first.
1.4.1 Installing TensorRT with yum/dnf
Find the TensorRT installation guide, search for yum or dnf, and locate the RedHat installation section.
TensorRT requires downloading a repo RPM, which requires registering an account. Find the login here and go through the registration flow:
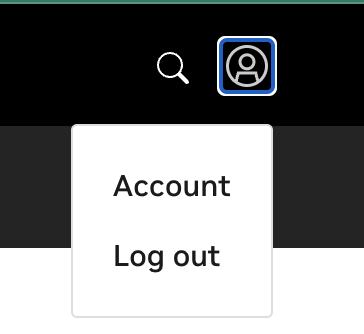
Once you have an account, log in and download it:
os="rhel9"
tag="8.9.2-cuda-12.2"
sudo rpm -Uvh nv-tensorrt-local-repo-${os}-${tag}-1.0-1.x86_64.rpm
sudo yum clean expire-cache
Or download it directly with wget:
wget https://developer.nvidia.com/downloads/compute/machine-learning/tensorrt/secure/8.6.1/local_repos/nv-tensorrt-local-repo-rhel8-8.6.1-cuda-12.0-1.0-1.x86_64.rpm

sudo dnf install ./nv-tensorrt-local-repo-rhel8-8.6.1-cuda-12.0-1.0-1.x86_64.rpm
After installing the repo, you need to run:
sudo dnf install tensorrt -yThis automatically installs the relevant TensorRT packages.
1.4.2 Offline installation
See here.
2. Summary
This article covered installing NVIDIA-related tools, using both the package-manager and offline installation approaches.